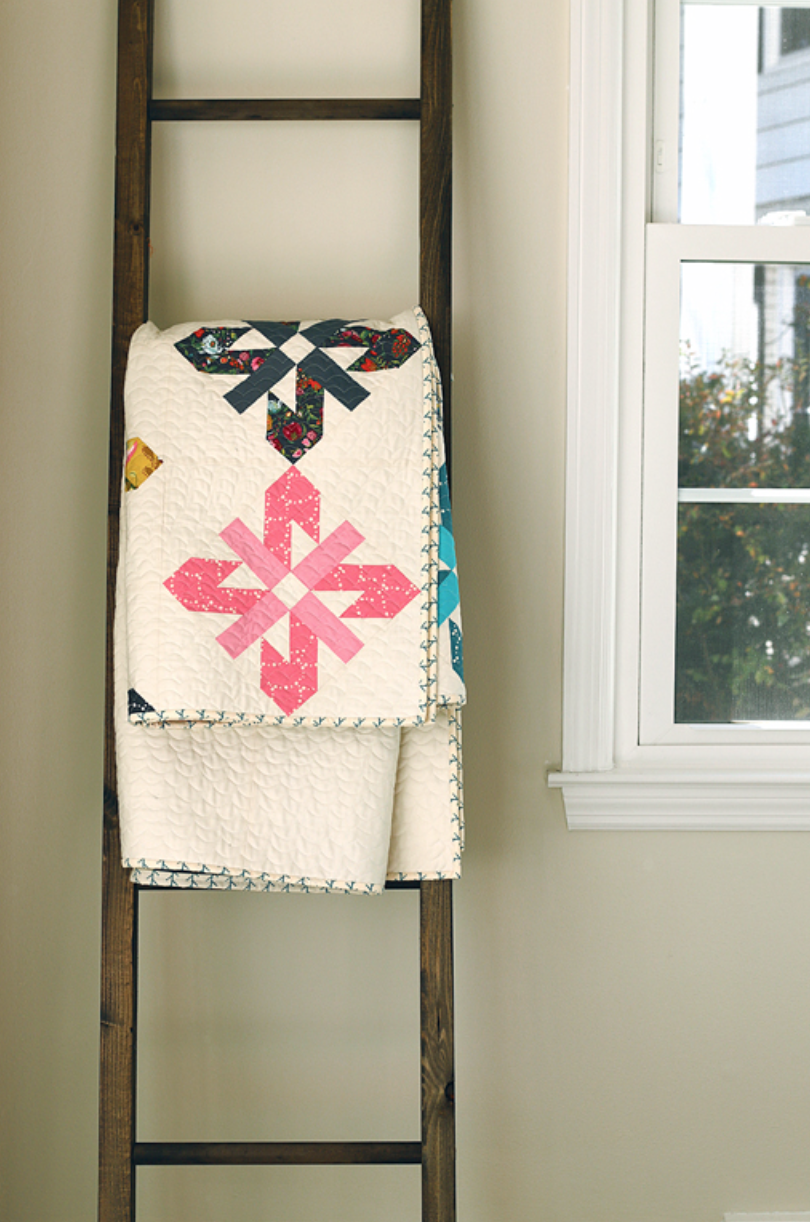
Chandelier Quilt Along, Week 3: Finishing the top and quilting
Welcome to Week 3 of the Chandelier Quilt-Along! Today we’ll be finishing our quilt by making the diamonds at the end of each row of blocks, assembling the quilt top, and quilting.

The small diamonds that complete each row are the icing on the cake of this design! And they’re made pretty much the same way we did our square-in-square Chandelier blocks in the last installment of this quilt-along. Let’s get started!
Make the Small Diamonds
1. Find the 5 print squares 2-1/4″ x 2-1/4″ (in 5 different prints) that you previously cut. Fold squares in half and press to crease.
2. Take the 20 triangles from white squares 2-1/4″ x 2-1/4″. Fold triangles in half and press to crease.
3. Line up the long edge of one of the triangles with the edge of one of the print squares, aligning the center creases. Sew together.

4. Repeat with another white triangle on the opposite edge of the print square. Press seam allowances open.

5. Press unit in half again in the opposite direction, for a crease going the other way.
6. Align white triangles onto each of the remaining edges of the print square, again aligning the center creases. Press seam allowances open.

7. Trim to 3″ x 3″ square. Trim so that the points of the inner diamond are 1/4″ from the edges of the square.

8. Repeat with remaining print 2-1/4″ x 2-1/4″ squares. Make 5 Diamond units.
9. Sew a 5-1/8″ x 3″ white piece onto each side of the Diamond units, as shown. Press seam allowances open.

10. Trim the width of the completed unit to 12-1/8″ wide, if necessary. Be sure to trim from the center, so that the diamond remains exactly in the center of the unit!
Assemble the Quilt Top
We’re done piecing and it’s time to assemble the top! Use the diagram below to determine placement of the blocks, Diamond units, and background pieces.

Quilt the Layers Together
Once you’ve completed the quilt top and back, baste your three layers together (top, batting, and back), and you’re ready to start quilting! I’ve been wanting to use my scallop decorative stitch for quilting for ages—I was just waiting for the right quilt design. And once I finished piecing my Chandelier quilt, there was no doubt in my mind that this was finally my chance!

I love using decorative stitches for quilting. I’ve often used the serpentine stitch for wavy line quilting, and I’ve used the multi-stitch zig zag to nice effect as well. So I was looking forward to trying out a scallop. And my Bernina 750 QE has the perfect straight-stitch scallop stitch for quilting—stitch #719. It’s a multi-stitch scallop pattern, and I found I didn’t even have to adjust stitch length or width to work perfectly for quilting. Simply use your walking foot or even-feed foot (I used Reverse Pattern Foot #1D). You run the quilt straight through the machine, just like with straight-line quilting, while the needle moves to create the scallop. So easy!

Here are a few tips before you start:
• I marked one line straight across the middle of my quilt to start, and followed that for my first quilting line. After that line, I worked my way out to each edge, lining up the edge of my even-feed foot with the points of the previous line of scallops.
• If you are accustomed to using the straight stitch plate on your machine, don’t forget to change to the standard stitch plate to allow the needle to move side-to-side without breaking. (I always forget to do this!)
• While I loved this stitch with the default settings, you may want to experiment with stitch length and width to find the perfect size scallop for your quilt.
• Keep in mind that with the walking foot or even-feed foot, you still have to watch your speed as you run the quilt through the machine. This is especially true when using decorative stitches like this scallop – the size of the scallop will vary if you move the quilt through too quickly or too slowly. The good news is, this is a very forgiving method of quilting. Even if some scallops are smaller or larger than others, it’s really not noticeable. My scallops in this quilt are quite varied and I still think it looks great.

I hope you enjoyed the Chandelier Quilt-Along!