
Greek Key Quilt Along, Week 2: Making the blocks

Welcome to week 2 of the Greek Key Quilt-Along! Find week 1, Fabric Requirements and Cutting, here. Week 3, Finishing the Quilt, will be available on February 22, 2016. This week we’ll be making our Greek Key blocks (essentially log cabin blocks, but with a bit of a twist).
These blocks are so easy and quick to make, you’ll have a great start on your quilt in no time. And we’re going to make use of some strip-piecing to speed things up even more. Ready to begin? (If you still need to cut your fabric, click here to revisit the cutting list from Week 1.)
Let’s start with the white and gray blocks.
Pair a gray piece 4-1/2″ x Width of Fabric (WOF) with a white piece 2-1/2″ x WOF. Sew together along the long edges and press seams open.
Cross-cut this strip set every 2-1/2″ as shown, to make 16 pieces that are 2-1/2″ x 6-1/2″. TIP: Line up one of the horizontal lines on your ruler with the seam you sewed between the gray and white pieces. Basing your cut on the seam instead of the previously cut edge will allow you to cut exactly perpendicular to your existing seam. This can and should be adjusted a bit as you cross-cut, especially if your long seam ended up a bit curved.

Repeat steps 1 and 2 with the other 4-1/2″ x WOF gray pieces and 2-1/2″ x WOF white pieces, and cross-cut as you did above, until you have cut a total of 44 pieces that are 2-1/2″ x 6-1/2″. This is Unit A.
Repeat the same process, but with the 4-1/2″ x WOF white pieces and 2-1/2″ x 40″ gray pieces. Sew together along the long edges, in pairs, and cross-cut 44 pieces measuring 2-1/2″ x 6-1/2″. This is Unit B.
Now pair each Unit A with a Unit B and sew together, with gray adjacent to gray and white adjacent to white, as shown. (They kind of remind me of tetris pieces!) However, it is very important here that you sew half of them with Unit A on the right and Unit B on the left, and half with Unit B on the right and Unit A on the left. So you will end up with 22 units that face one direction, and 22 units that are a mirror image of the first 22. Press seams open.

And you just completed the trickiest part of this block! From here on out, it really is just a standard log cabin block.
Next, stitch a gray piece 2-1/2″ x 6-1/2″ onto the side of all of the units, making sure to add the new piece onto the side that has the smaller gray section, as shown. Press seams open.

Next, add a white 2-1/2″ x 6-1/2″ piece onto each unit, adding the white piece on the opposite side from the gray piece that you added in step 6. Press seams open.

Finally, add a white piece 2-1/2″ x 8-1/2″ to the edge of each unit, perpendicular to the piece you added in step 7, as shown. Make sure you add it to the edge that has more gray than white, so that the white forms a “hook” shape that goes all the way around the block. Press seams open.

Your white and gray blocks are now done! You should have 44 blocks measuring 8-1/2″ x 8-1/2″.
Now we’re going to repeat the whole process to make 4 more blocks, but in yellow and gray instead of white and gray.
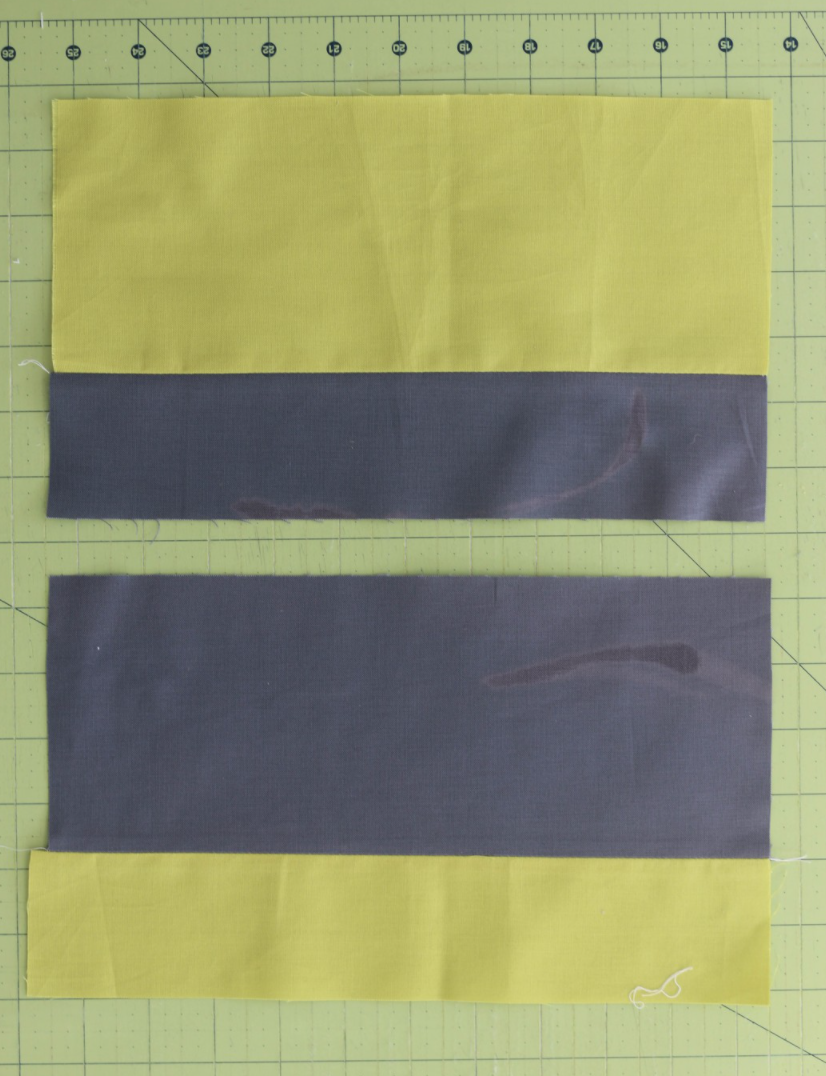
Pair a gray piece 4-1/2″ x 11″ with a yellow piece 2-1/2″ x 11″. Sew together along the long edges and press seams open. Do the same with the yellow piece 4-1/2″ x 11″ and gray piece 2-1/2″ x 11″.
Cross cut these strip sets the same way you did with the white and gray strip sets, into pieces 2-1/2″ wide. You will cut four pieces 2-1/2″ x 6-1/2″ from each strip set, for a total of 8 pieces.

Sew these 8 pieces together in pairs, just as you did with the white and gray pieces, making sure to again mirror-image half of them, as shown below. You should now have 2 units facing in one direction, and 2 units that are a mirror image of the first 4.

Following the exact same process as you used for the white and gray blocks, stitch a gray piece 2-1/2″ x 6-1/2″ onto the side of all of the yellow and gray units, making sure to add the new piece onto the side that has the smaller gray section, as shown. Press seams open.
Add a yellow 2-1/2″ x 6-1/2″ piece onto each unit, adding the yellow piece on the opposite side from the gray piece that you added in step 4. Press seams open.
And add the final yellow piece, 2-1/2″ x 8-1/2″, to the edge of each unit, perpendicular to the piece you added in step 5, as shown. Again, be sure that the yellow forms a “hook” shape that goes all the way around the block. Press seams open. You should now have 4 yellow-and-gray blocks 8-1/2″ x 8-1/2″. This brings your block total (both white-and-gray and yellow-and-gray) to 48.

Okay, that’s it for this week! Next week we’ll be assembling the quilt top and quilting it with some diagonal straight lines, so come on back to finish up your Greek Key Quilt! (Click here for next week’s post.)
If you’d like to see how everyone else is doing with their Greek Key Quilts, check out the #greekkeyquilt hashtag on Instagram—and add your own progress shots using the same hashtags! See you next week!