
How to wrap fabric on a canvas frame
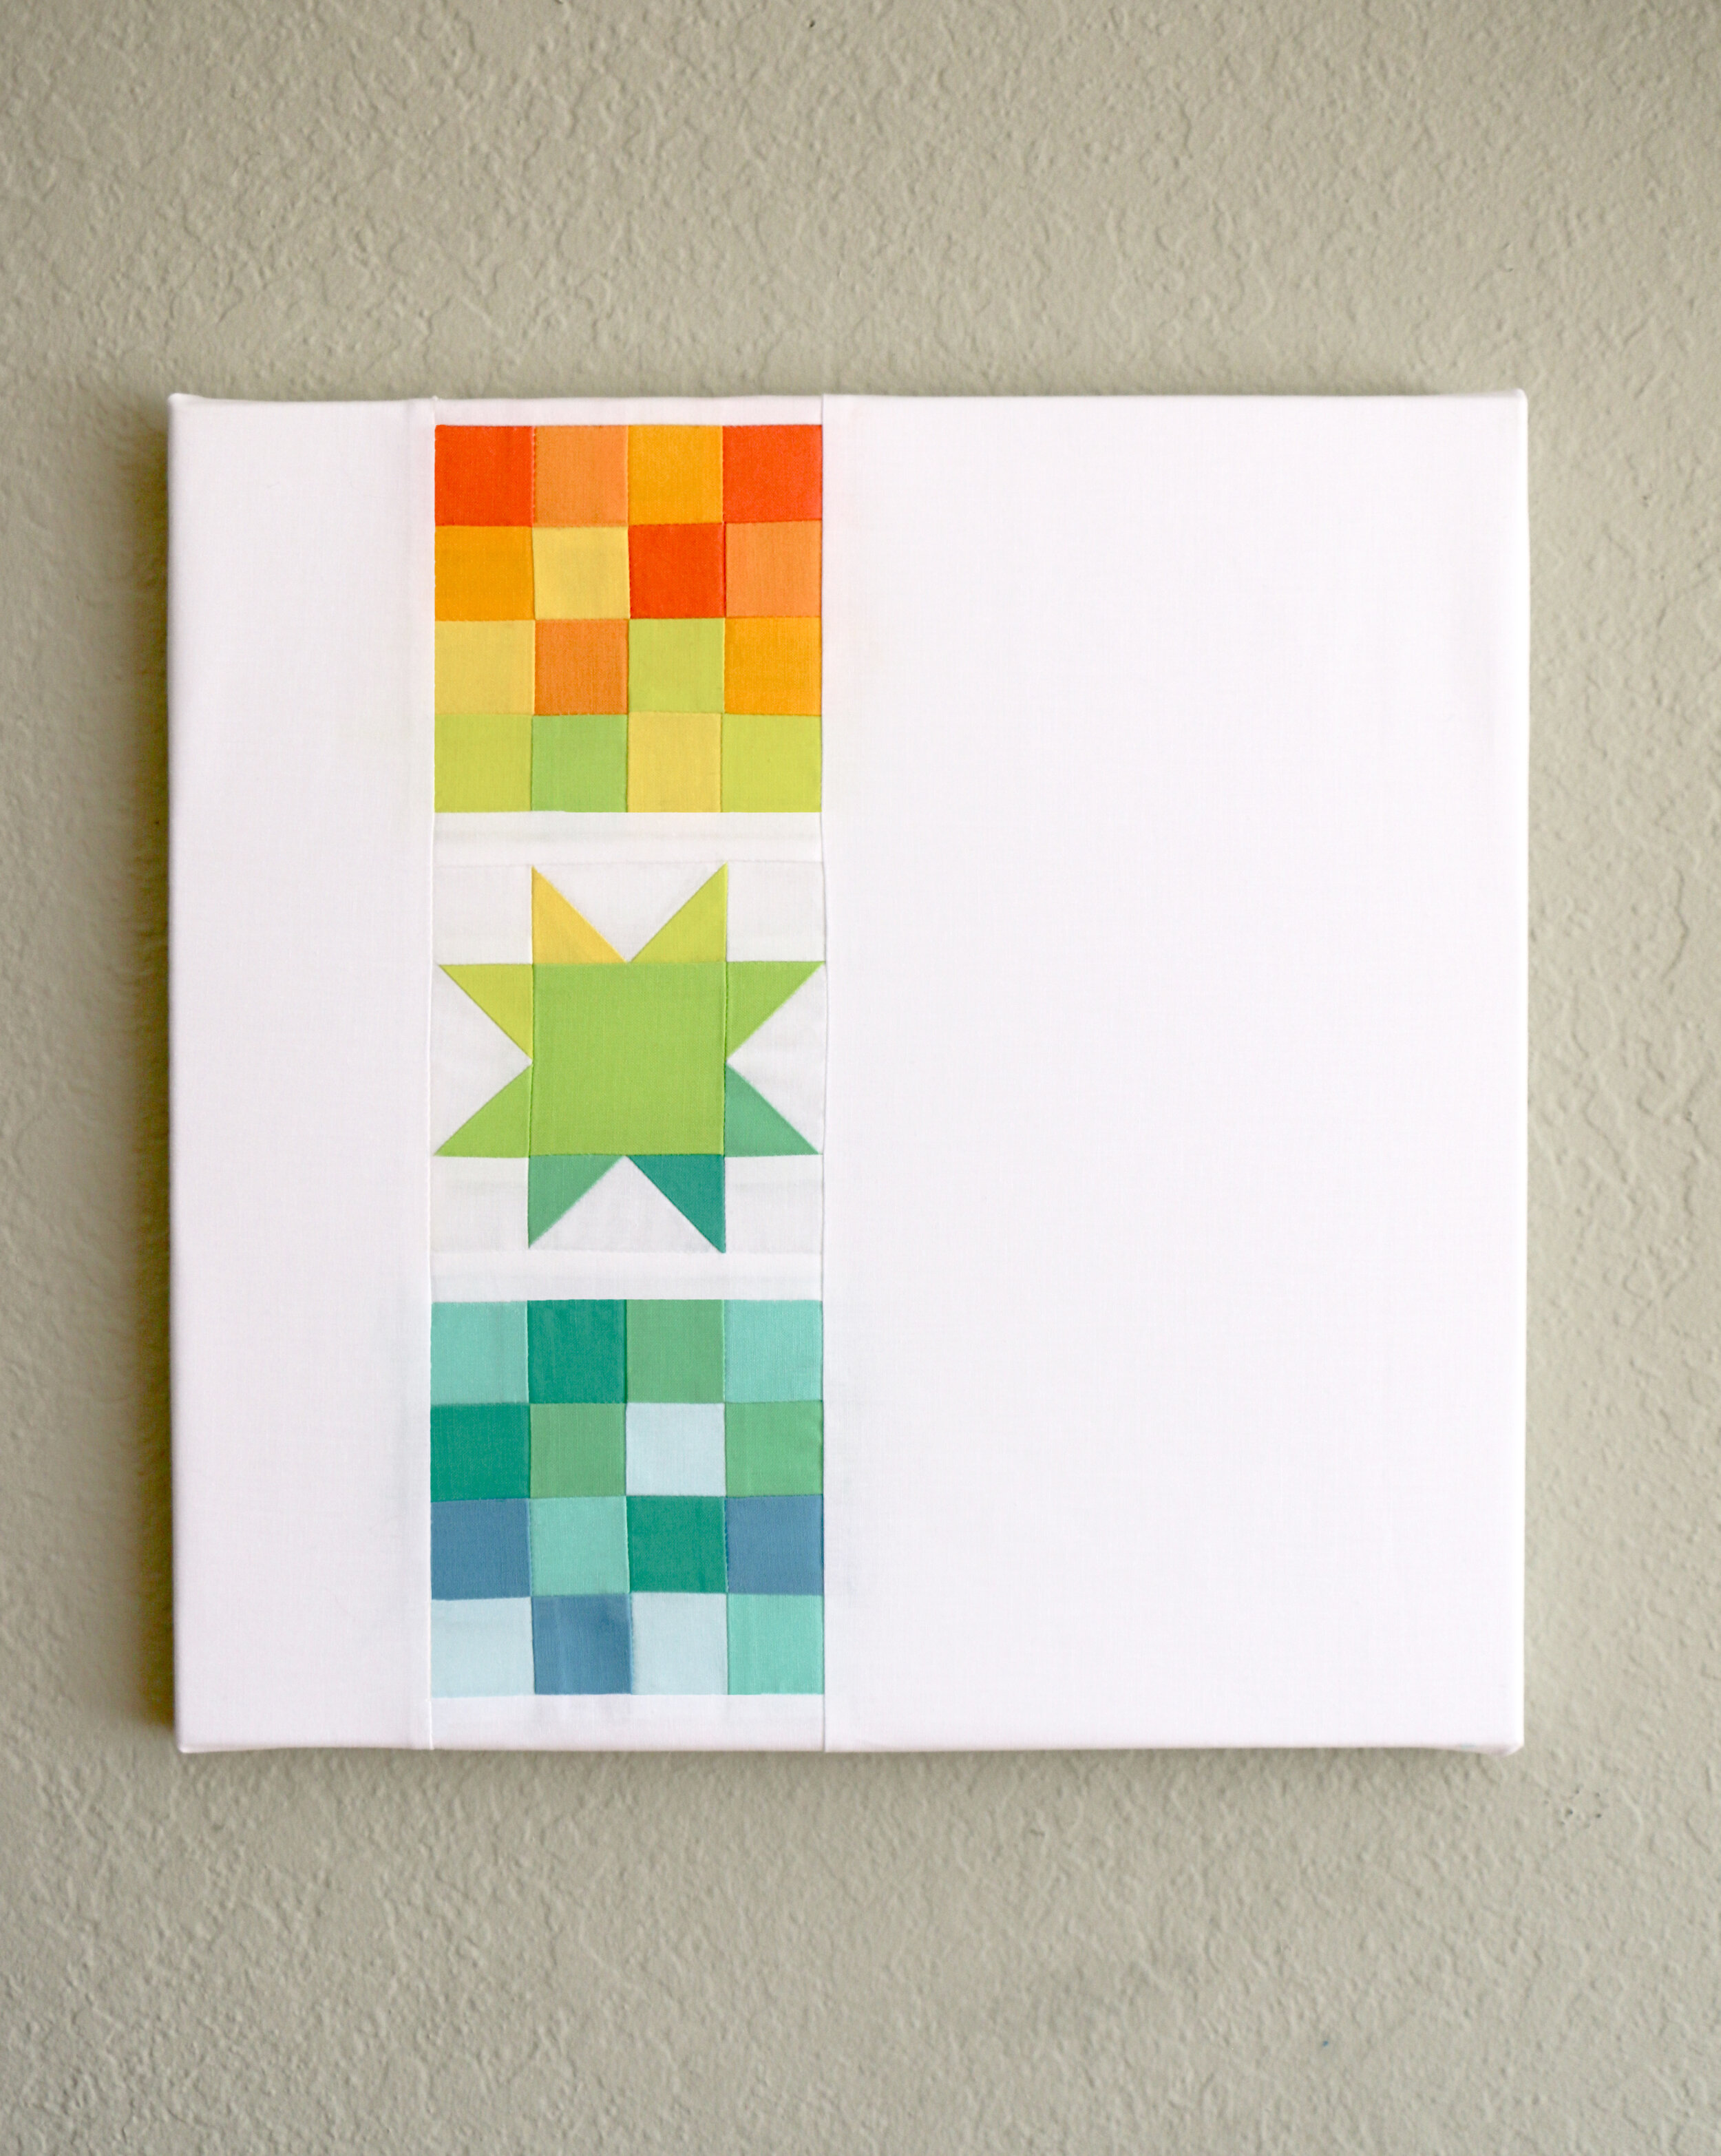
In my last post, we learned how to use tiny piecing to make a great little quilt top. Today, instead of quilting it, we’re going to do something a little different—we’ll finish the piece by wrapping it onto a canvas frame.
This is a sleek, modern look that turns your pieced top into a piece of art! Pieced fabric wrapped on a frame has been all over Instagram lately. While I do love the texture quilting can give to a piece like this, wrapping it on a frame instead gives it a clean, minimalist, graphic feel that’s right at home in modern décor. Plus it’s an easy and quick way to finish something off. You can wrap pieced fabric on a frame, like I did here, or just wrap a favorite large-scale print onto the frame for an instant décor piece! Here’s a tutorial on how I do it.

You will need:
• A wooden frame stretched with canvas – I’m using a 14″ x 14″ square that I purchased on Amazon
• Fabric glue (I used Aleene’s - click here to purchase on Amazon)
• A stapler (I had no problems using a typical office stapler, but depending on the hardness of the wood used in your stretched canvas, you may need a heavy-duty stapler)
• A mini-quilt top or other fabric for wrapping onto the canvas

1. Lay the quilt top face down on a cutting mat. Lay the blank framed canvas face down and centered on top of the quilt top. (The cutting mat helps get it evenly centered.)

2. Run a THIN, LIGHT line of glue down each vertical side of the back edge of the canvas, and fold the quilt top over to glue down the side edges. (A little glue goes a long way! Avoid blobbing it on there!)

3. Run another light line of glue along the bottom edge of the canvas. Then, as you bring up the bottom edge of your fabric and wrap it around, treat the corners just like you would when you’re wrapping a gift! Carefully fold in the corner flap on a 45 degree angle as you bring the bottom edge in, and glue everything down.

4. Repeat the process on the top edge of the canvas. When you’re done gluing, it should look like this. This is great, but when you’re working with a pieced fabric quilt top, you’re going to want it TIGHT, so that no wrinkles or seam puckers show. You can definitely see some in the photo above!

5. So that’s when I break out the stapler. I start by securing the corners …

6. Then I carefully and gently tug the edges inward a bit more and staple them tight. This is a gradual process. Each time you tighten an area and staple, turn it over and check the front of your work, to make sure you’re not distorting your piecing or introducing any wavy seam lines! After adjusting one side, switch to the opposite side of the canvas and adjust that side equivalently. Just keep working and adding staples, alternating sides and edges, until the front fabric is nice and taut, even, and wrinkle/pucker-free!

Ta-da! Ready for hanging!
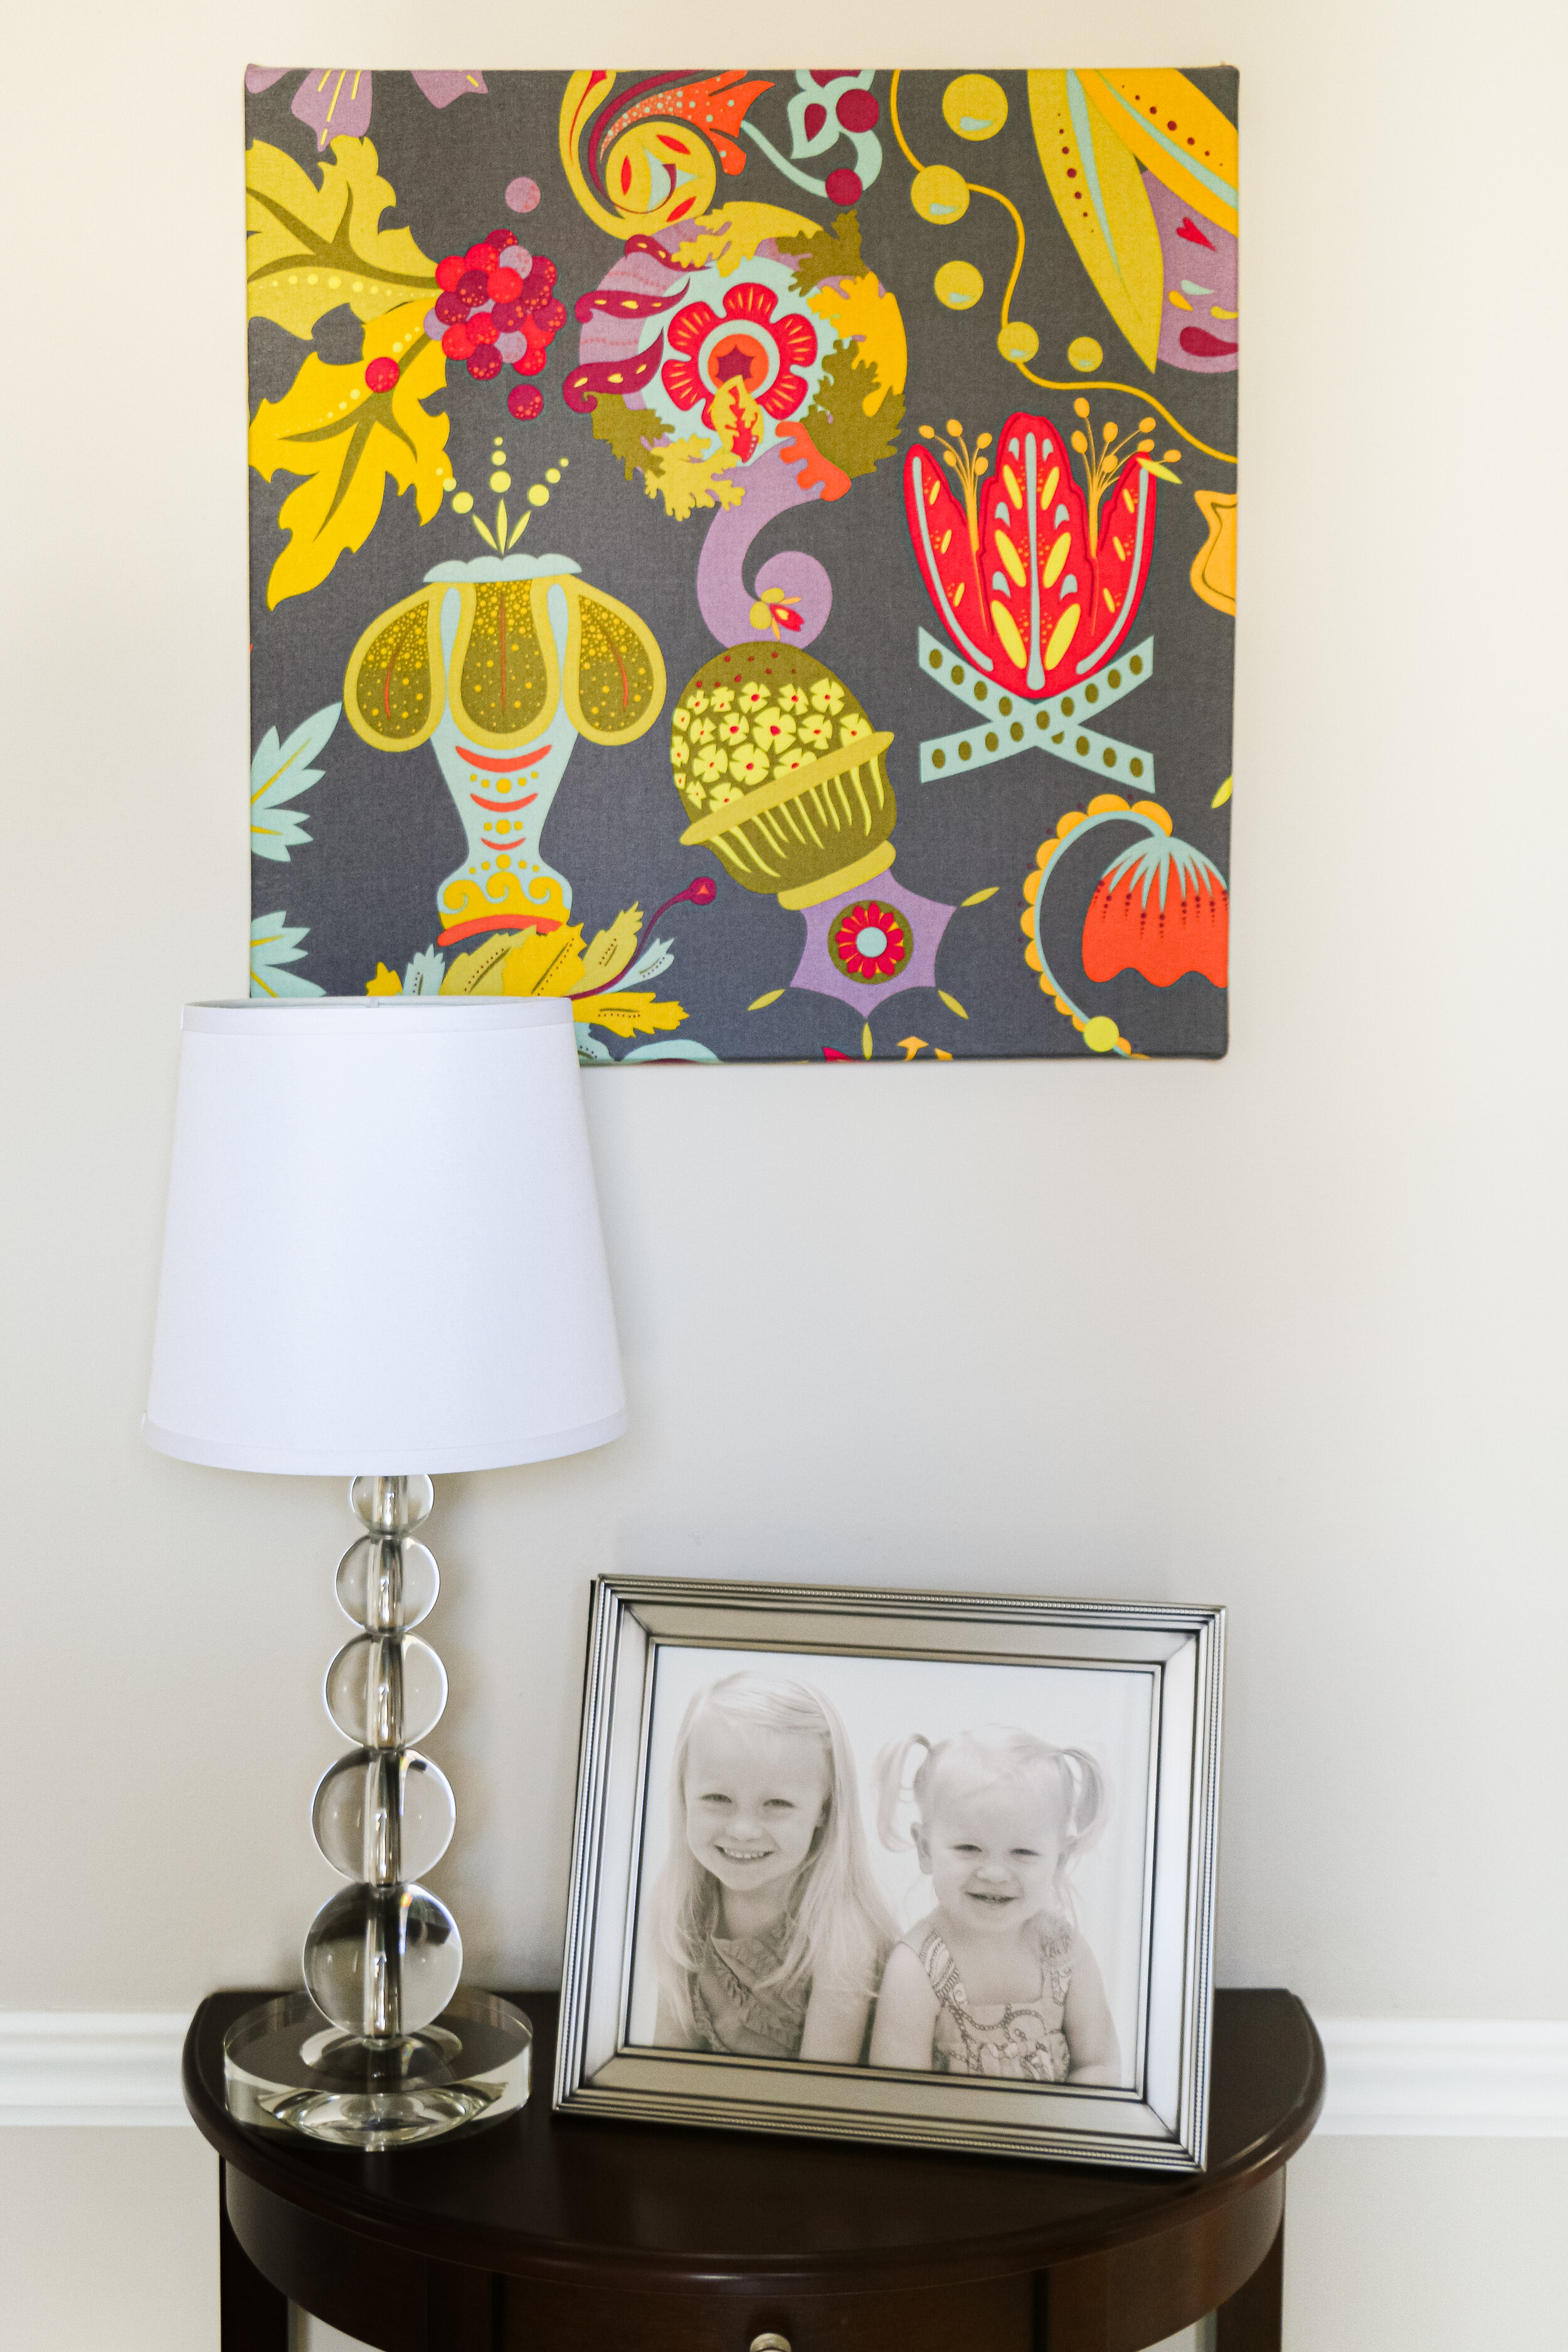
Pieced quilt tops aren’t the only things that look good stretched on canvas! I stretched this fabulous Alison Glass large-scale print onto a canvas several years ago, and it’s been hanging in my entryway ever since. There are so many fabric prints out there that look like works of art—why not use them that way?
I hope you’ll try this—let me know if you try stretching any fabric onto canvases for wall hangings in your home!