
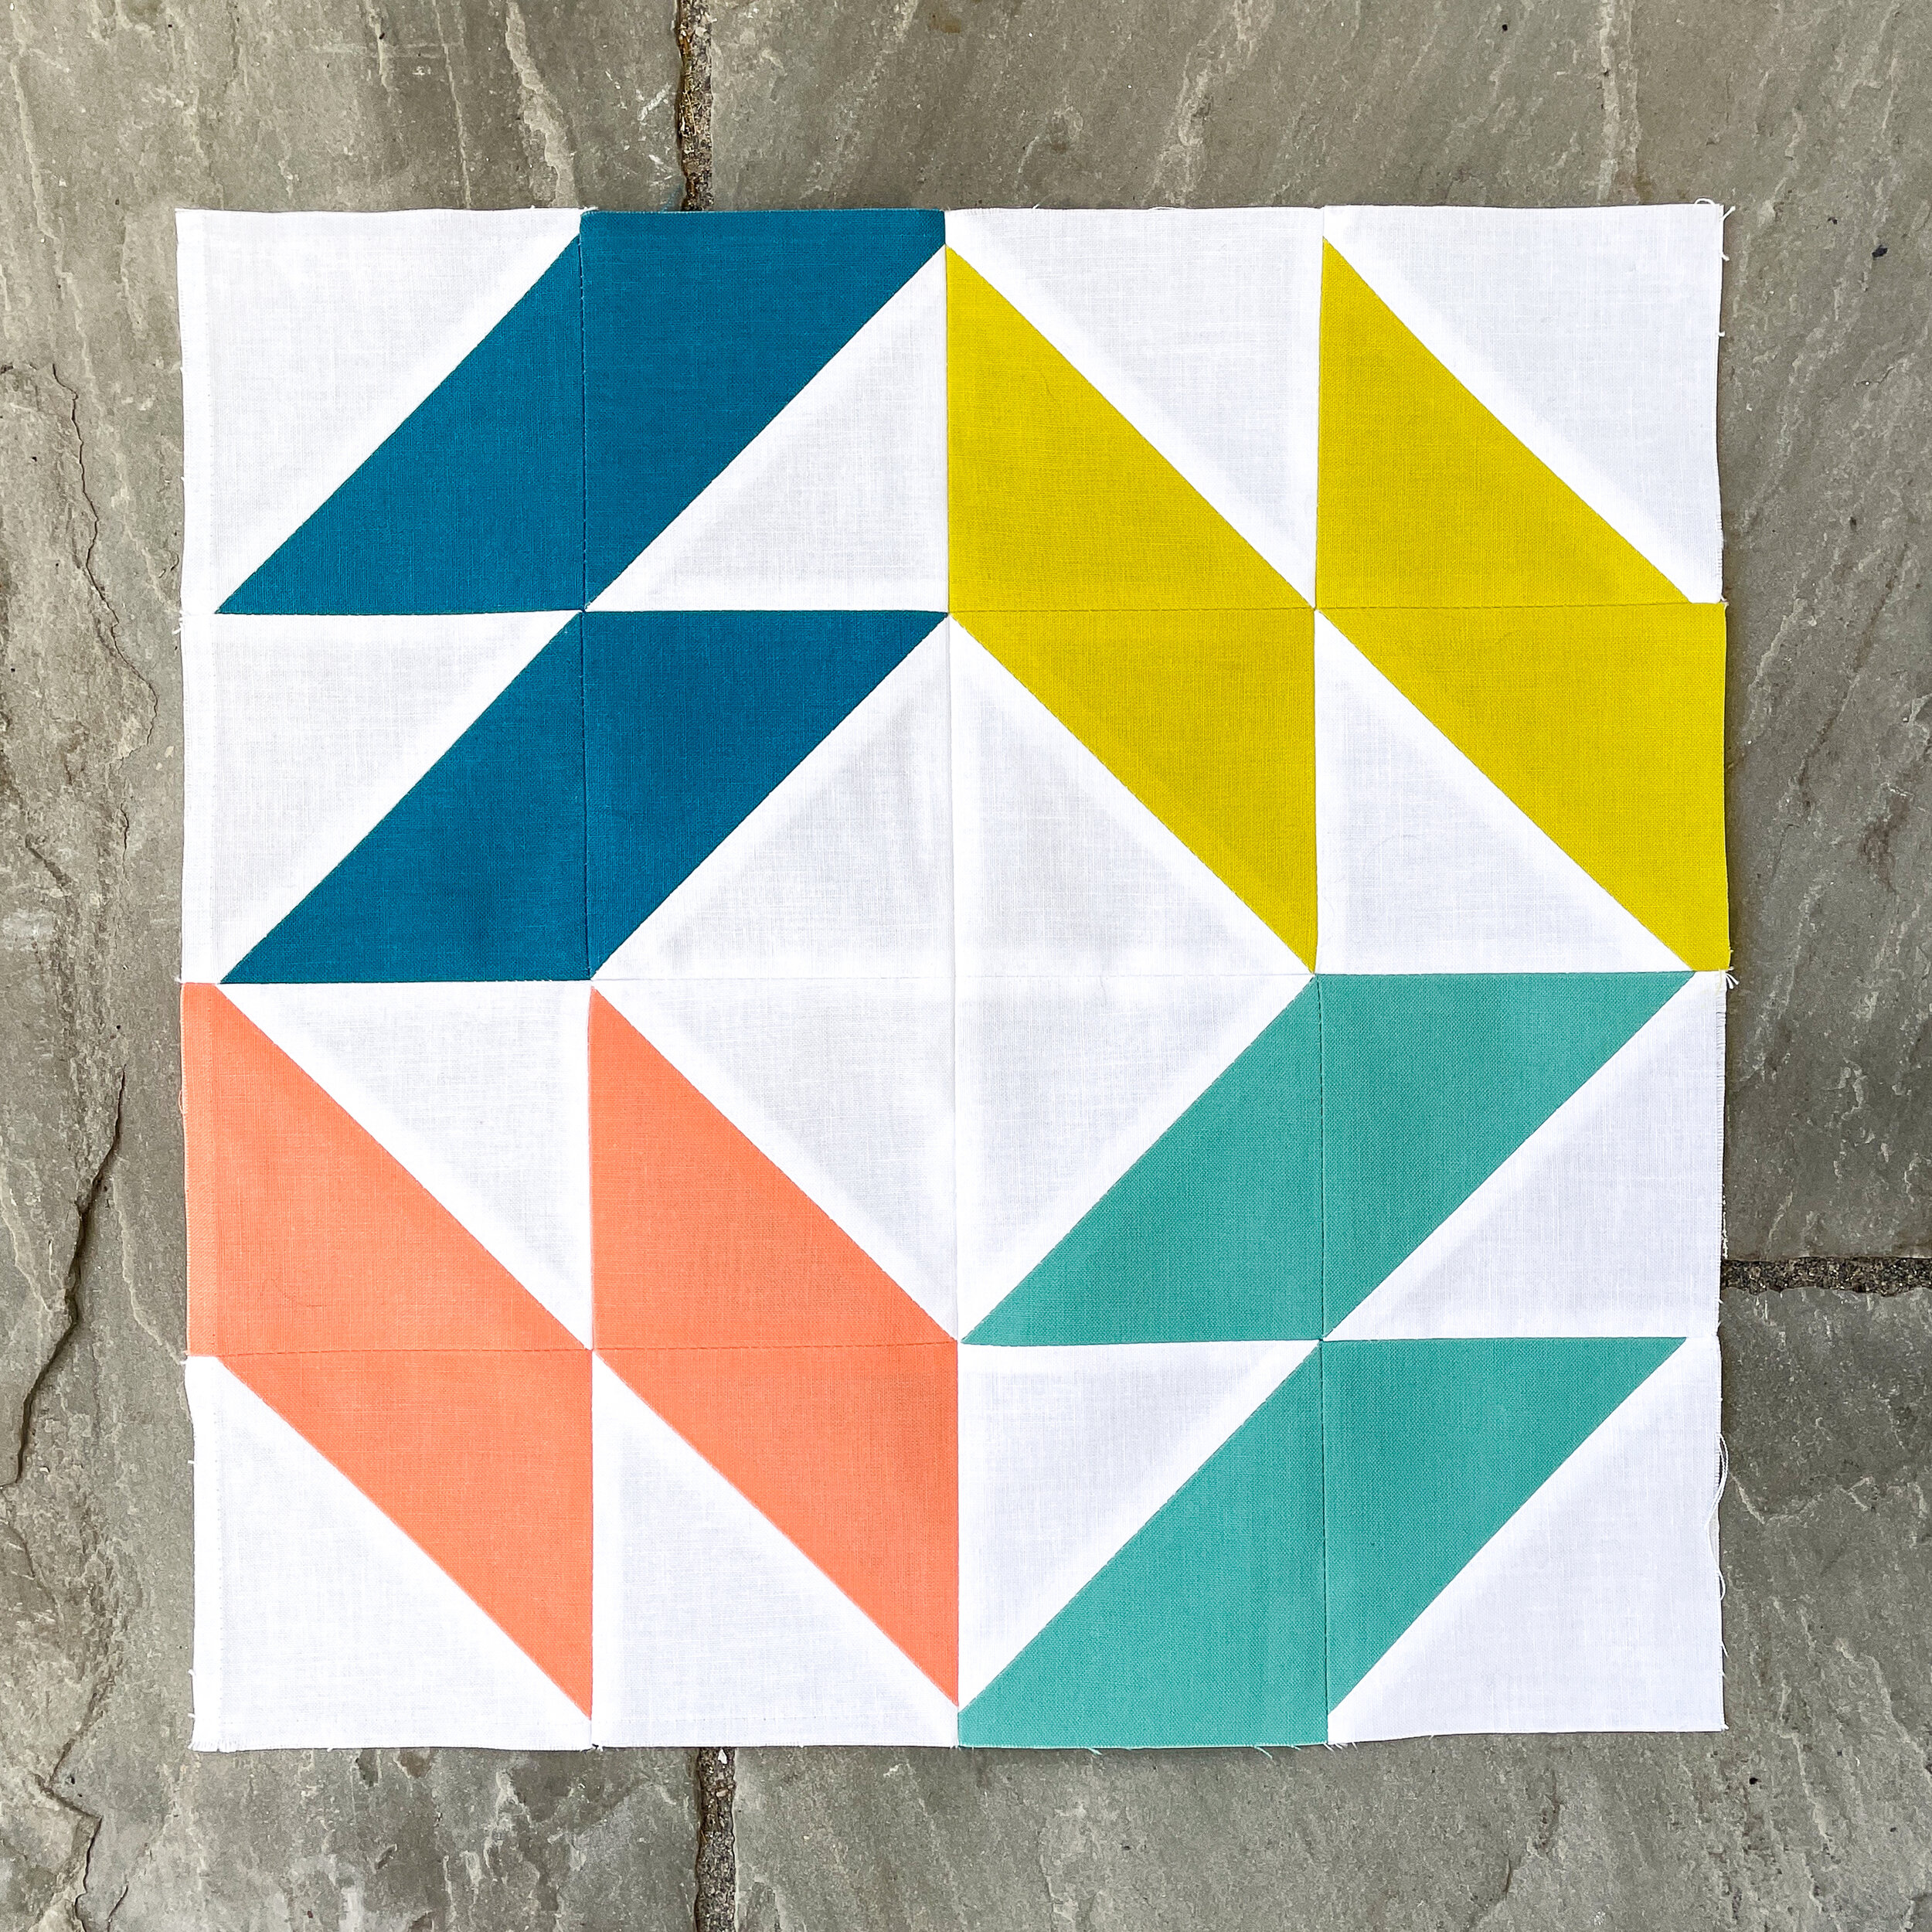
Summer Sampler 10: Mosaic - a free block pattern

#summersamplerturns10
Welcome to our third FREE block pattern, as we re-release classic Summer Sampler blocks! I'm so thrilled to be sharing another fun traditional-to-modern block with all of you. Feel free to join in and sew these blocks along with us—a complete list of the posts is here. Myself, Katie Blakesley of Swim Bike Quilt, and Faith Jones of Fresh Lemons Quilts are re-releasing these free block patterns over the next few months to celebrate the 10th anniversary of the original Summer Sampler quilt-along. Today we're making a classic Mosaic block.
And yes, I made a video tutorial for this block as well! I’m showing you the process of making this block from start to finish—including my tips for sewing it together without losing points! 🎉 Or scroll down for the complete instructions.
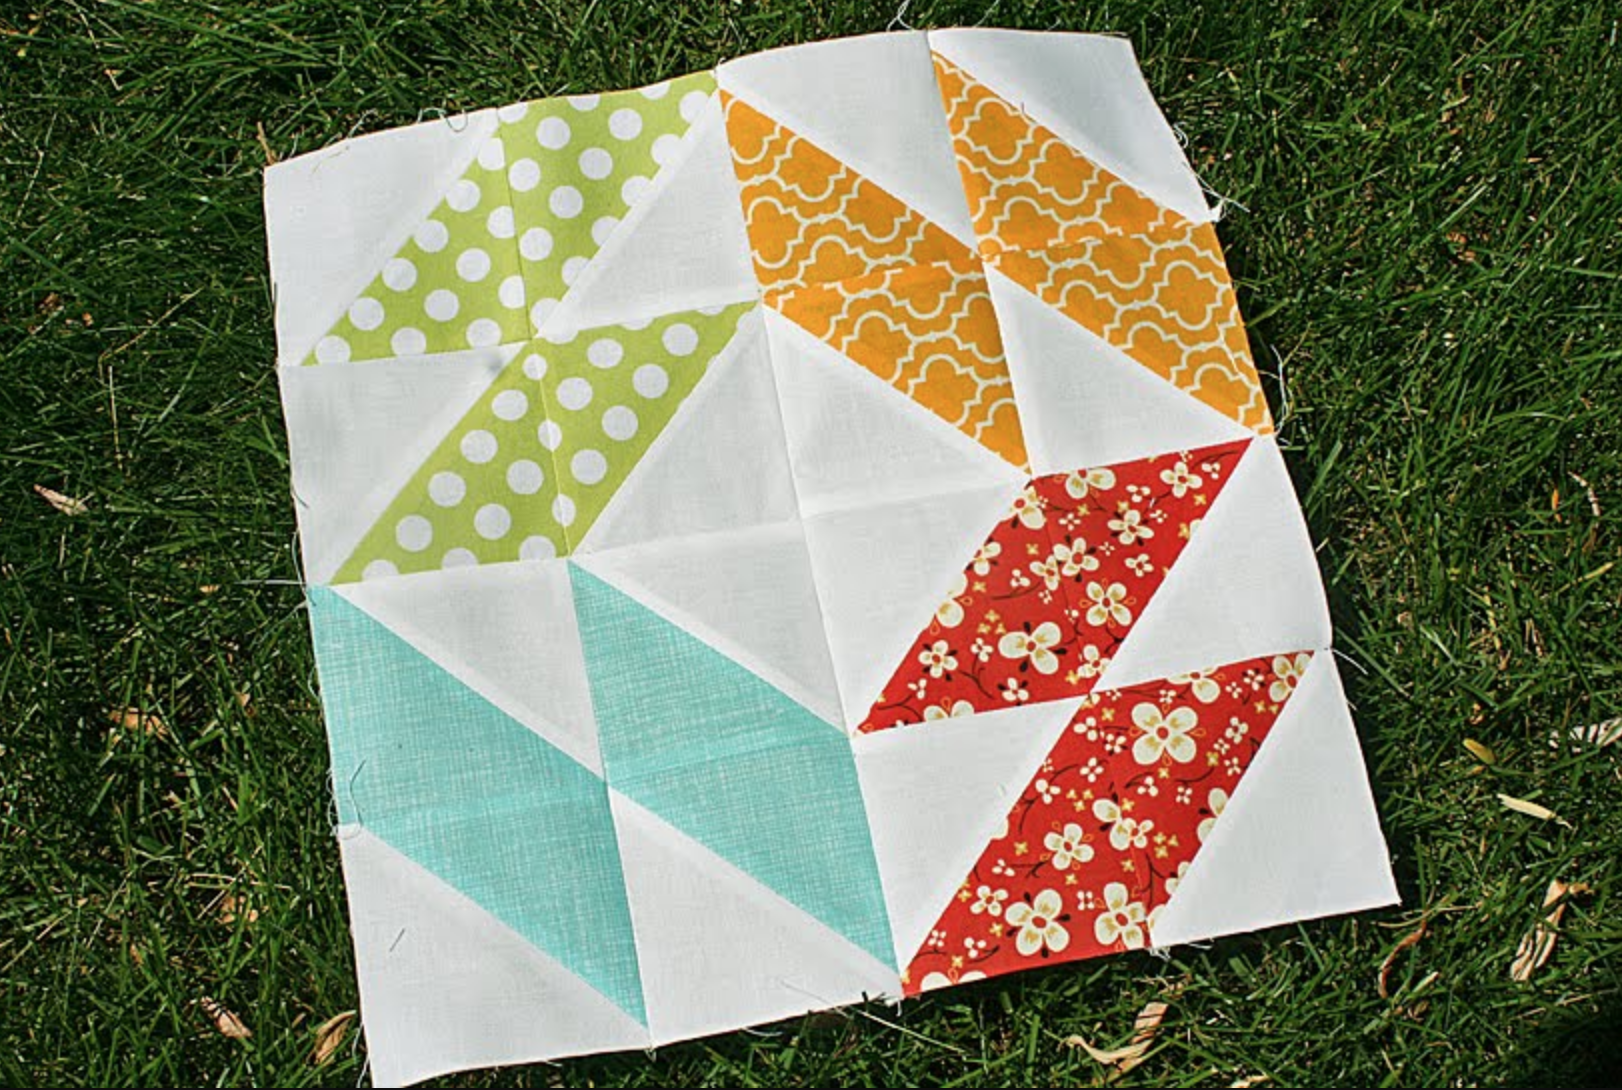
My 2011 version of the Mosaic block. Wow. So many prints.
First, a little history on this block: The design is attributed to, among others, Nancy Cabot. Nancy was the Needlework Editor for the Chicago Tribune and wrote a syndicated daily quilting column in the 1930s. As a quilt blogger and a former newspaper reporter, I find Nancy very interesting—not only was she an early career women, she was a forerunner of the modern quilt designer/influencer. Her columns were written in a casual, conversational format called "kitchen table style," which I'm guessing would sound familiar to most blog readers. Over the years, she designed at least 200 quilt blocks, and no doubt inspired thousands of quilters. Let’s pay tribute to Nancy Cabot by making our own Mosaic blocks.
There are at least three ways that I can think of to piece this block, which is made up entirely of half-square triangle units. To keep this block tutorial free of charge, these instructions use the two-at-a-time method of making HSTs. But for an even faster method, consider trying my Perfect HST Templates, to make HSTs with no trimming/squaring up or marking lines on the back of the squares! (If you use the Perfect HST Templates to make the HSTs for this block, you’ll want the templates on page 12 of the PDF—the 3” finished/3-1/2” unfinished templates.)
Make the Mosaic quilt block
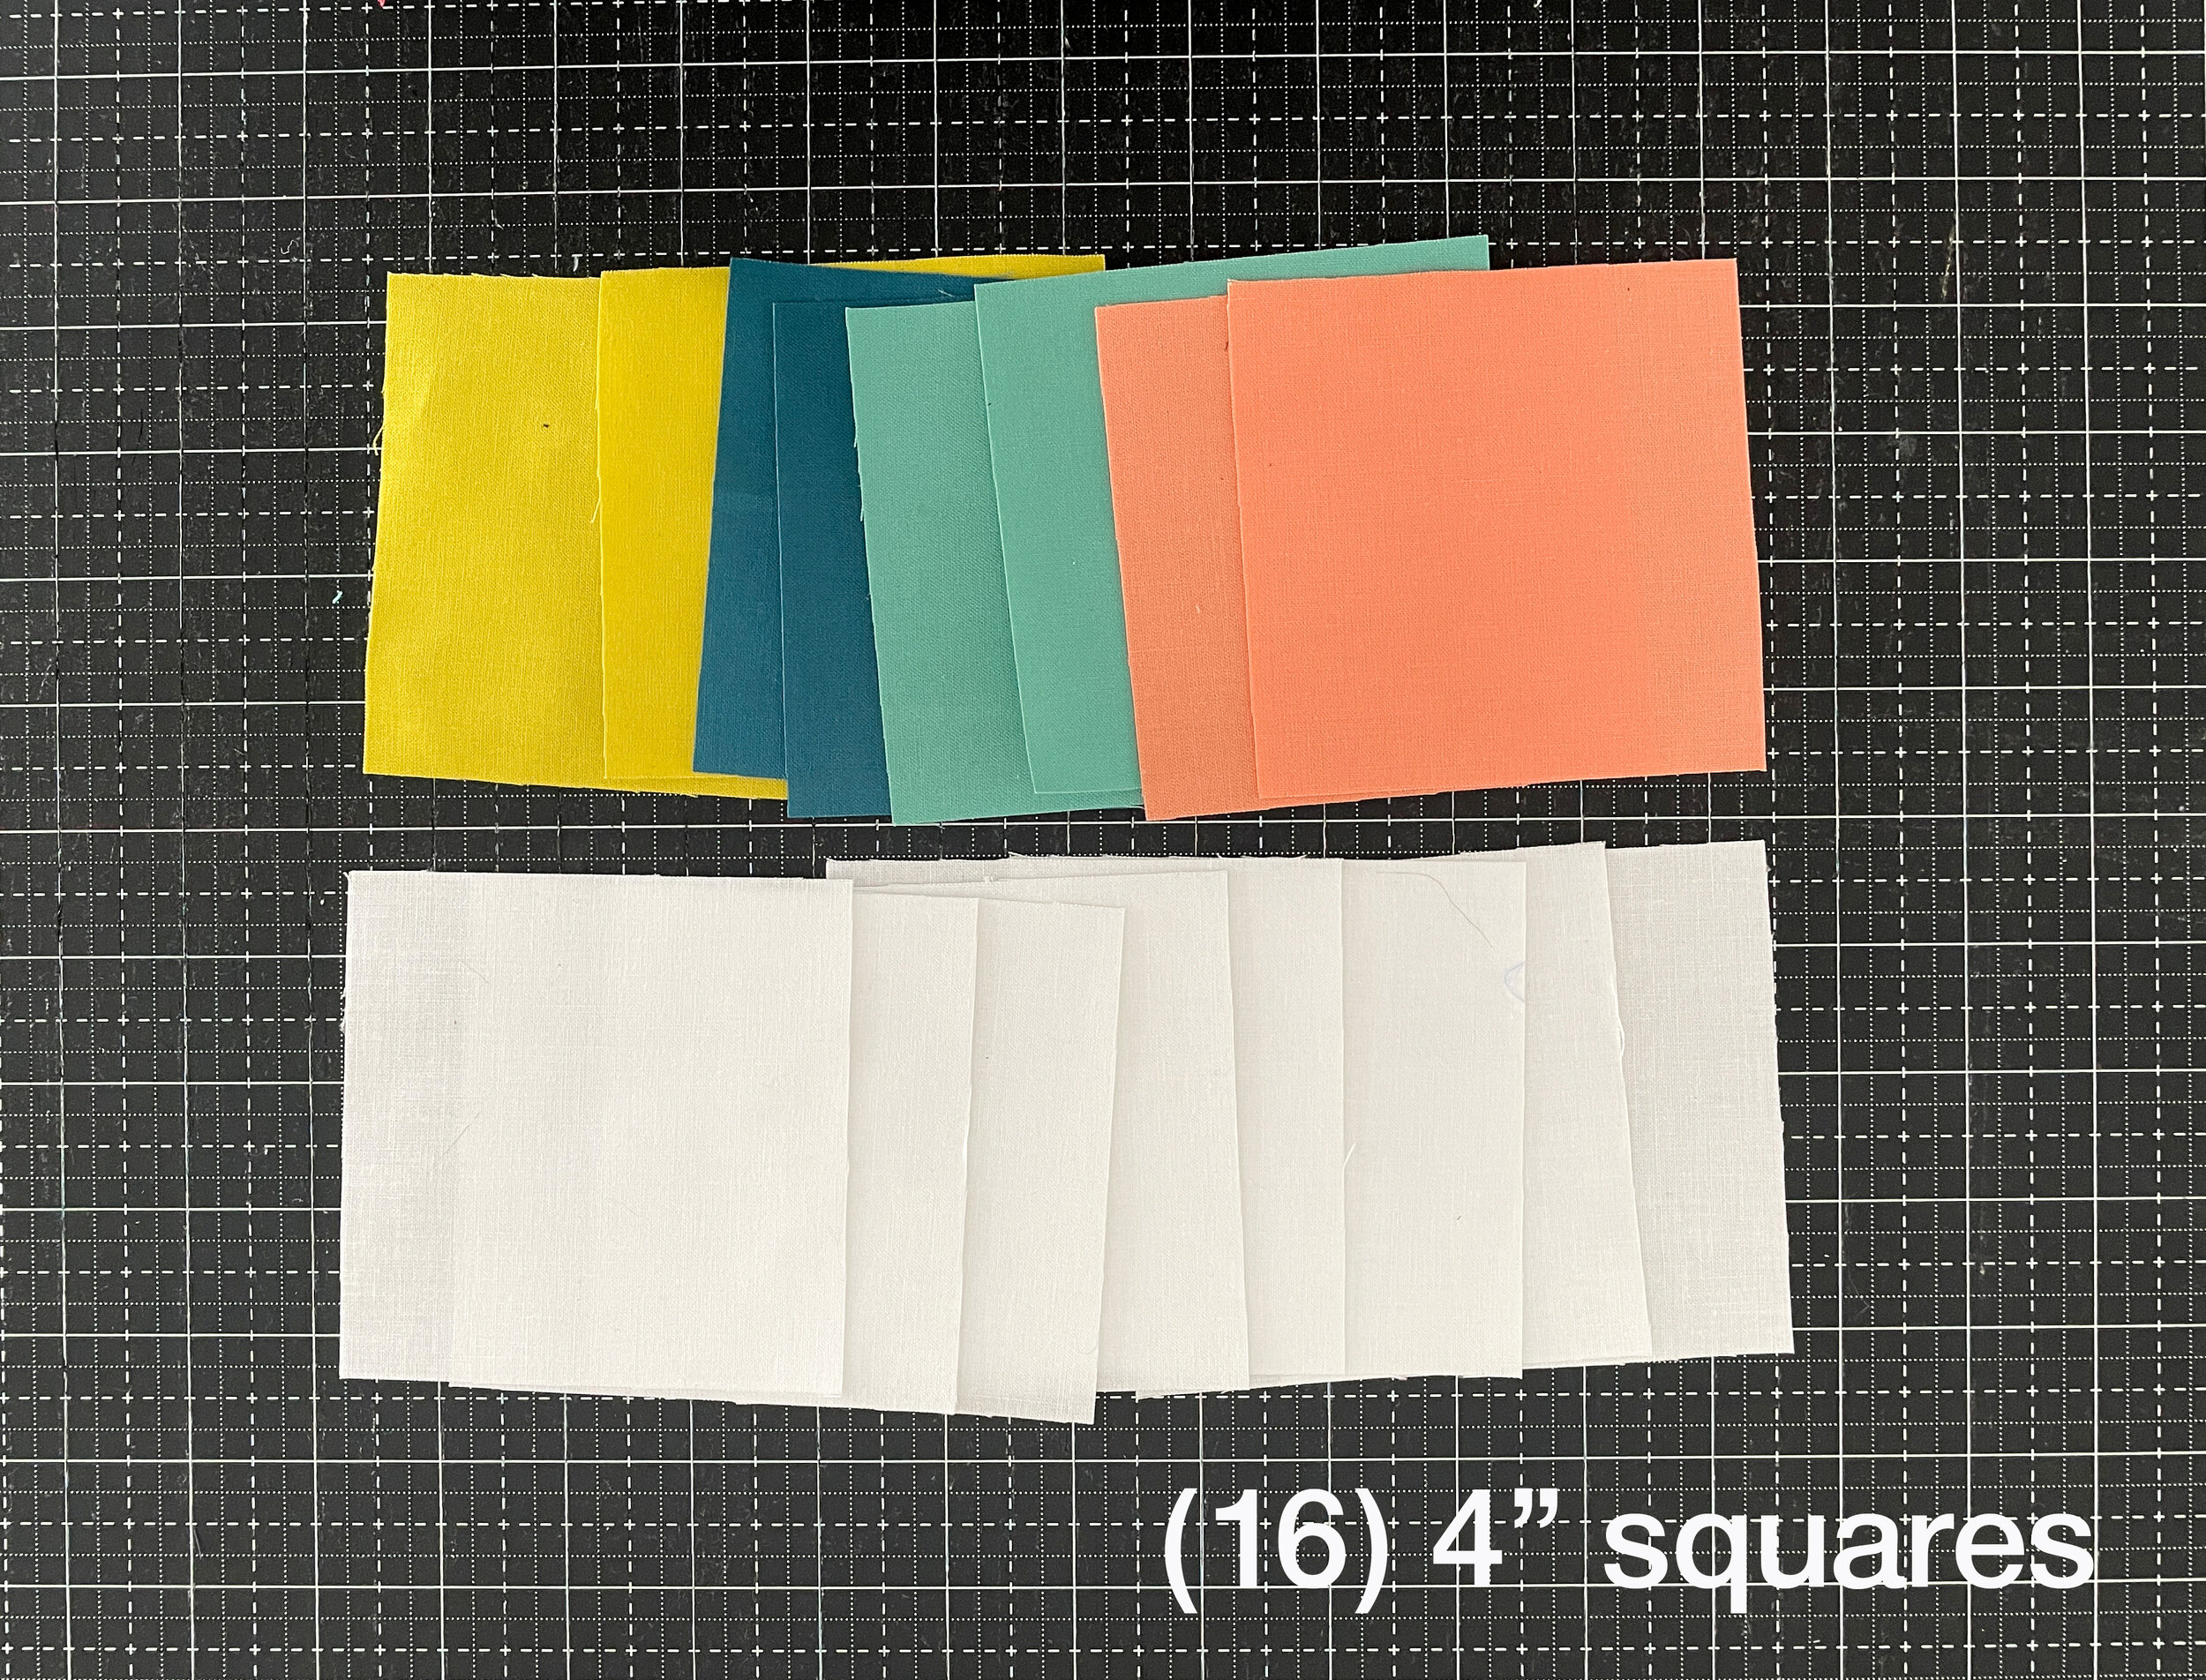
1. Start with 16 - 4" squares. You'll need 8 background squares (I'm using white for my background fabric) and 8 colored squares. (Switching up your colors and contrast can dramatically change the look of this block—for example, you could swap the background and colored pieces, or you could give this block more of a circular movement by making the inner ring one color and the outer ring another color.)

2. Using a pencil, mark a diagonal line from corner to corner on the wrong side of your background squares (in my case, that’s the white squares).

3. Pair up each colored square with a background square, right sides facing. (I’m using solids, so my fabrics don’t have a right side and a wrong side, but if you’re using prints, the prints should be facing each other.)

4. Sew 1/4" away from the marked diagonal, on each side of the line.

5. Cut on the marked lines to make two HST units. You should now have a total of 16 half-square triangle units (HSTs).

6. Press the HSTs open. I always prefer to press seam allowances open, especially when HSTs are involved, but you can also press your seams to the side. If pressing to the side, press toward the darker fabric.

7. Trim your HSTs down to 3.5" square, using the 45-degree angle on your ruler or cutting mat. I always square up my HSTs along the first two edges as shown in the photo above, then turn the square and trim down the other two edges. See my video for a more detailed look at this process. (And don’t forget, you can skip all of this trimming nonsense when you use my Perfect HST Templates! 😊)

8. Pair up your HSTs as shown above and stitch together. Sew all the like-color HSTs together so that you have 8 pairs of sewn HSTs, making sure all of your HSTs angle in the same direction, as shown above. I accidentally reversed the blue HSTs when I originally sewed this block, and had to tear them out and re-do. The block won't come together correctly if you mix it up!

9. Pair up your newly-sewn double-HST units, as shown above.

10. Lay them right-sides facing. Sew your pairs together so that you have four 4-patch units that look like the one above.

Watch my video for a demonstration of how I get my seams and points to line up perfectly in these units!

11. Arrange your completed 4-patches as shown above and sew to complete your Mosaic block. Your block should finish at 12.5" square.

And here are the first three Summer Sampler 10 blocks together (Sawtooth Star, Greek Cross, and now Mosaic). My little sewing buddy approves. I think.
If you’ve used these instructions to make your own Mosaic block, I would love if you posted a photo of it on Instagram with the hashtag #summersamplerturns10 and #mosaicquiltblock! I hope you’re enjoying this series of free quilt block patterns—see you next week with another one! Click here for the full schedule and links to all of the block patterns.