Summer Sampler 2017: Tilted Star
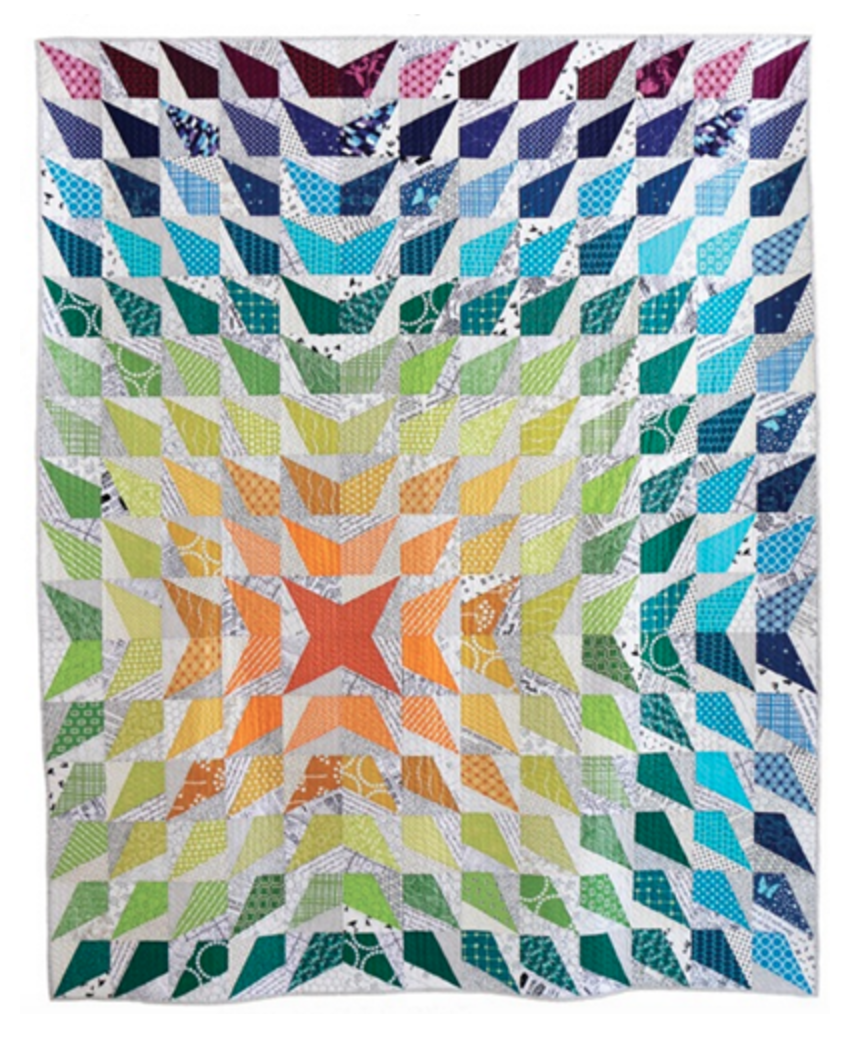
Block 2 of Summer Sampler 2017 is here! This one is called Tilted Star, by Karen Lewis of Karen Lewis Textiles. This is such a unique block—it's like a star that's trying to be a pinwheel. I loved making mine in the 6" size.
In case you aren't familiar with Summer Sampler 2017, it's the block-of-the-week quilt-along that I'm doing with Katie of Swim Bike Quilt and Faith of Fresh Lemons Quilts. Seventeen star blocks, all in two sizes each (6" and 12"), plus one delicious layout for all these fun blocks. And it's not too late to join! You can make the blocks all summer long, alongside us and everybody in our subscriber-only Facebook group. Click here to purchase.
Plus, you get my weekly tips! This week, let's talk paper-piecing. I'm sure there more than a few of you who have never paper-pieced before. If you've ever taken any of my classes or been to any of my trunk shows, you know that I love paper-piecing and it's my mission in life to make everybody else love it too! And this block, my friends, is the perfect way to make you love paper-piecing.
First, why paper-piece this block? Faith and Katie and I actually tried it both ways (traditional piecing and paper-piecing). But with the funky angle of the half-square rectangles that make up the center of the block, it was impossible for those points to come together in a pinwheel fashion without being paper-pieced. Only 45-degree angles will make for perfect center points—a half-square rectangle has a 30-degree angle, which is much trickier.
So, we went with paper-piecing instead of "normal" piecing, because paper-piecing will keep you from losing your points. And you guys—paper-piecing literally does not get any easier than this. It's one seam! Which means all you really have to do is stack up the fabric pieces and the paper templates in the correct order, and sew on the line of the paper template. That's it! That's all you have to do for a perfect half-square rectangle.
Let's try it, shall we?
First, stack the following pieces, in order, as shown in my photo above: a white (background) rectangle, a colored rectangle, and the paper template. (Don't forget to print your templates at EXACT SIZE—don't check "Fit to page" in your print dialogue box!) Place the paper template printed side up on top of the stack, so that the angled line on the template is about 1/4" inch - 1/2" inch from the right-hand edge of the fabric pieces, as shown.
Next, without allowing the fabric/template stack to shift, move it to your sewing machine. Reduce your stitch length to about 1.4-1.5 (a shorter stitch length perforates the paper better, allowing you to tear the paper off more easily when you're done). Now, sew on the angled line, right through your entire stack—the paper template and both pieces of fabric—just like I did in the photo above.
When you're done, your stack will be all sewn together and it should look something like this. (Hopefully yours won't be quite as thready and messy as mine in this photo, but if it is, no worries, I promise it will be fine in the end. LOL.)
Press the two pieces of fabric open, pressing on the non-paper side. Now it should look like this (as shown on the paper side).
With the paper side of the stack facing up, use your ruler to trim around the outside edge of the template, trimming through all the layers (paper and fabric). I always line up the 1/4" mark on the ruler with the inside line, rather than trying to line up with the outside line.
Finally, tear the paper template off the back, and that's it! You now have a perfect half-square rectangle that's ready to go into your block! Easy, right? Don't you love it? Are you counting the days until the next paper-pieced Summer Sampler block? (Hint: You don't have long to wait!)
And just in case you can't possibly wait, my Wavelength pattern uses a very similar stacked-paper-piecing method, and the pattern comes complete with visual step-by-step instructions just like these. Click here to check it out! And see you next week for Block 3 of Summer Sampler 2017!


