
Summer Sampler 2017: Celestial Star

It's only Memorial Day, but we're officially three weeks into summer with Summer Sampler 2017! Here's block 3 of the Summer Sampler 2017 quilt-along, Celestial Star by Holly DeGroot of Bijou Lovely.

Last week we dipped our toes into the paper-piecing pool. This week we're really taking the plunge. So if you haven't paper-pieced before (or even if you've only done last week's simpler block), I suggest you start by visiting one of Faith's paper-piecing tutorials to get the basics down.
You’ve done that? Great! Now I'd like to share with you my extra-special favorite mind-blowing paper-piecing tip that will help you place those pieces perfectly every time! Sound too good to be true? It's totally not. Read on.

Let's use position 6B of today's Celestial Star block as an example. Because I'm here to tell you, piece 6B is a tricky little minx. We're dealing with a strange angle on 6B (even more so than on 6A), so unless you place the fabric exactly right, you're not going to cover what you need to cover, and you'll screw it up. That's frustrating, I know! So here it is—this is what your B unit should look like when you've got pieces 1B-5B sewn on. So far so good. Now we need to add 6B.

Before adding the 6B fabric piece, flip the unit over and fold back the paper, right along the line you'll be sewing, between 6B and everything else. (You can tear the paper a little as you pull it back if your previous stitches crossed over where you need to fold—you can see I've done that in the photo above.)

Once the paper is folded back, trim all of the excess fabric 1/4" out from the folded paper, like so.
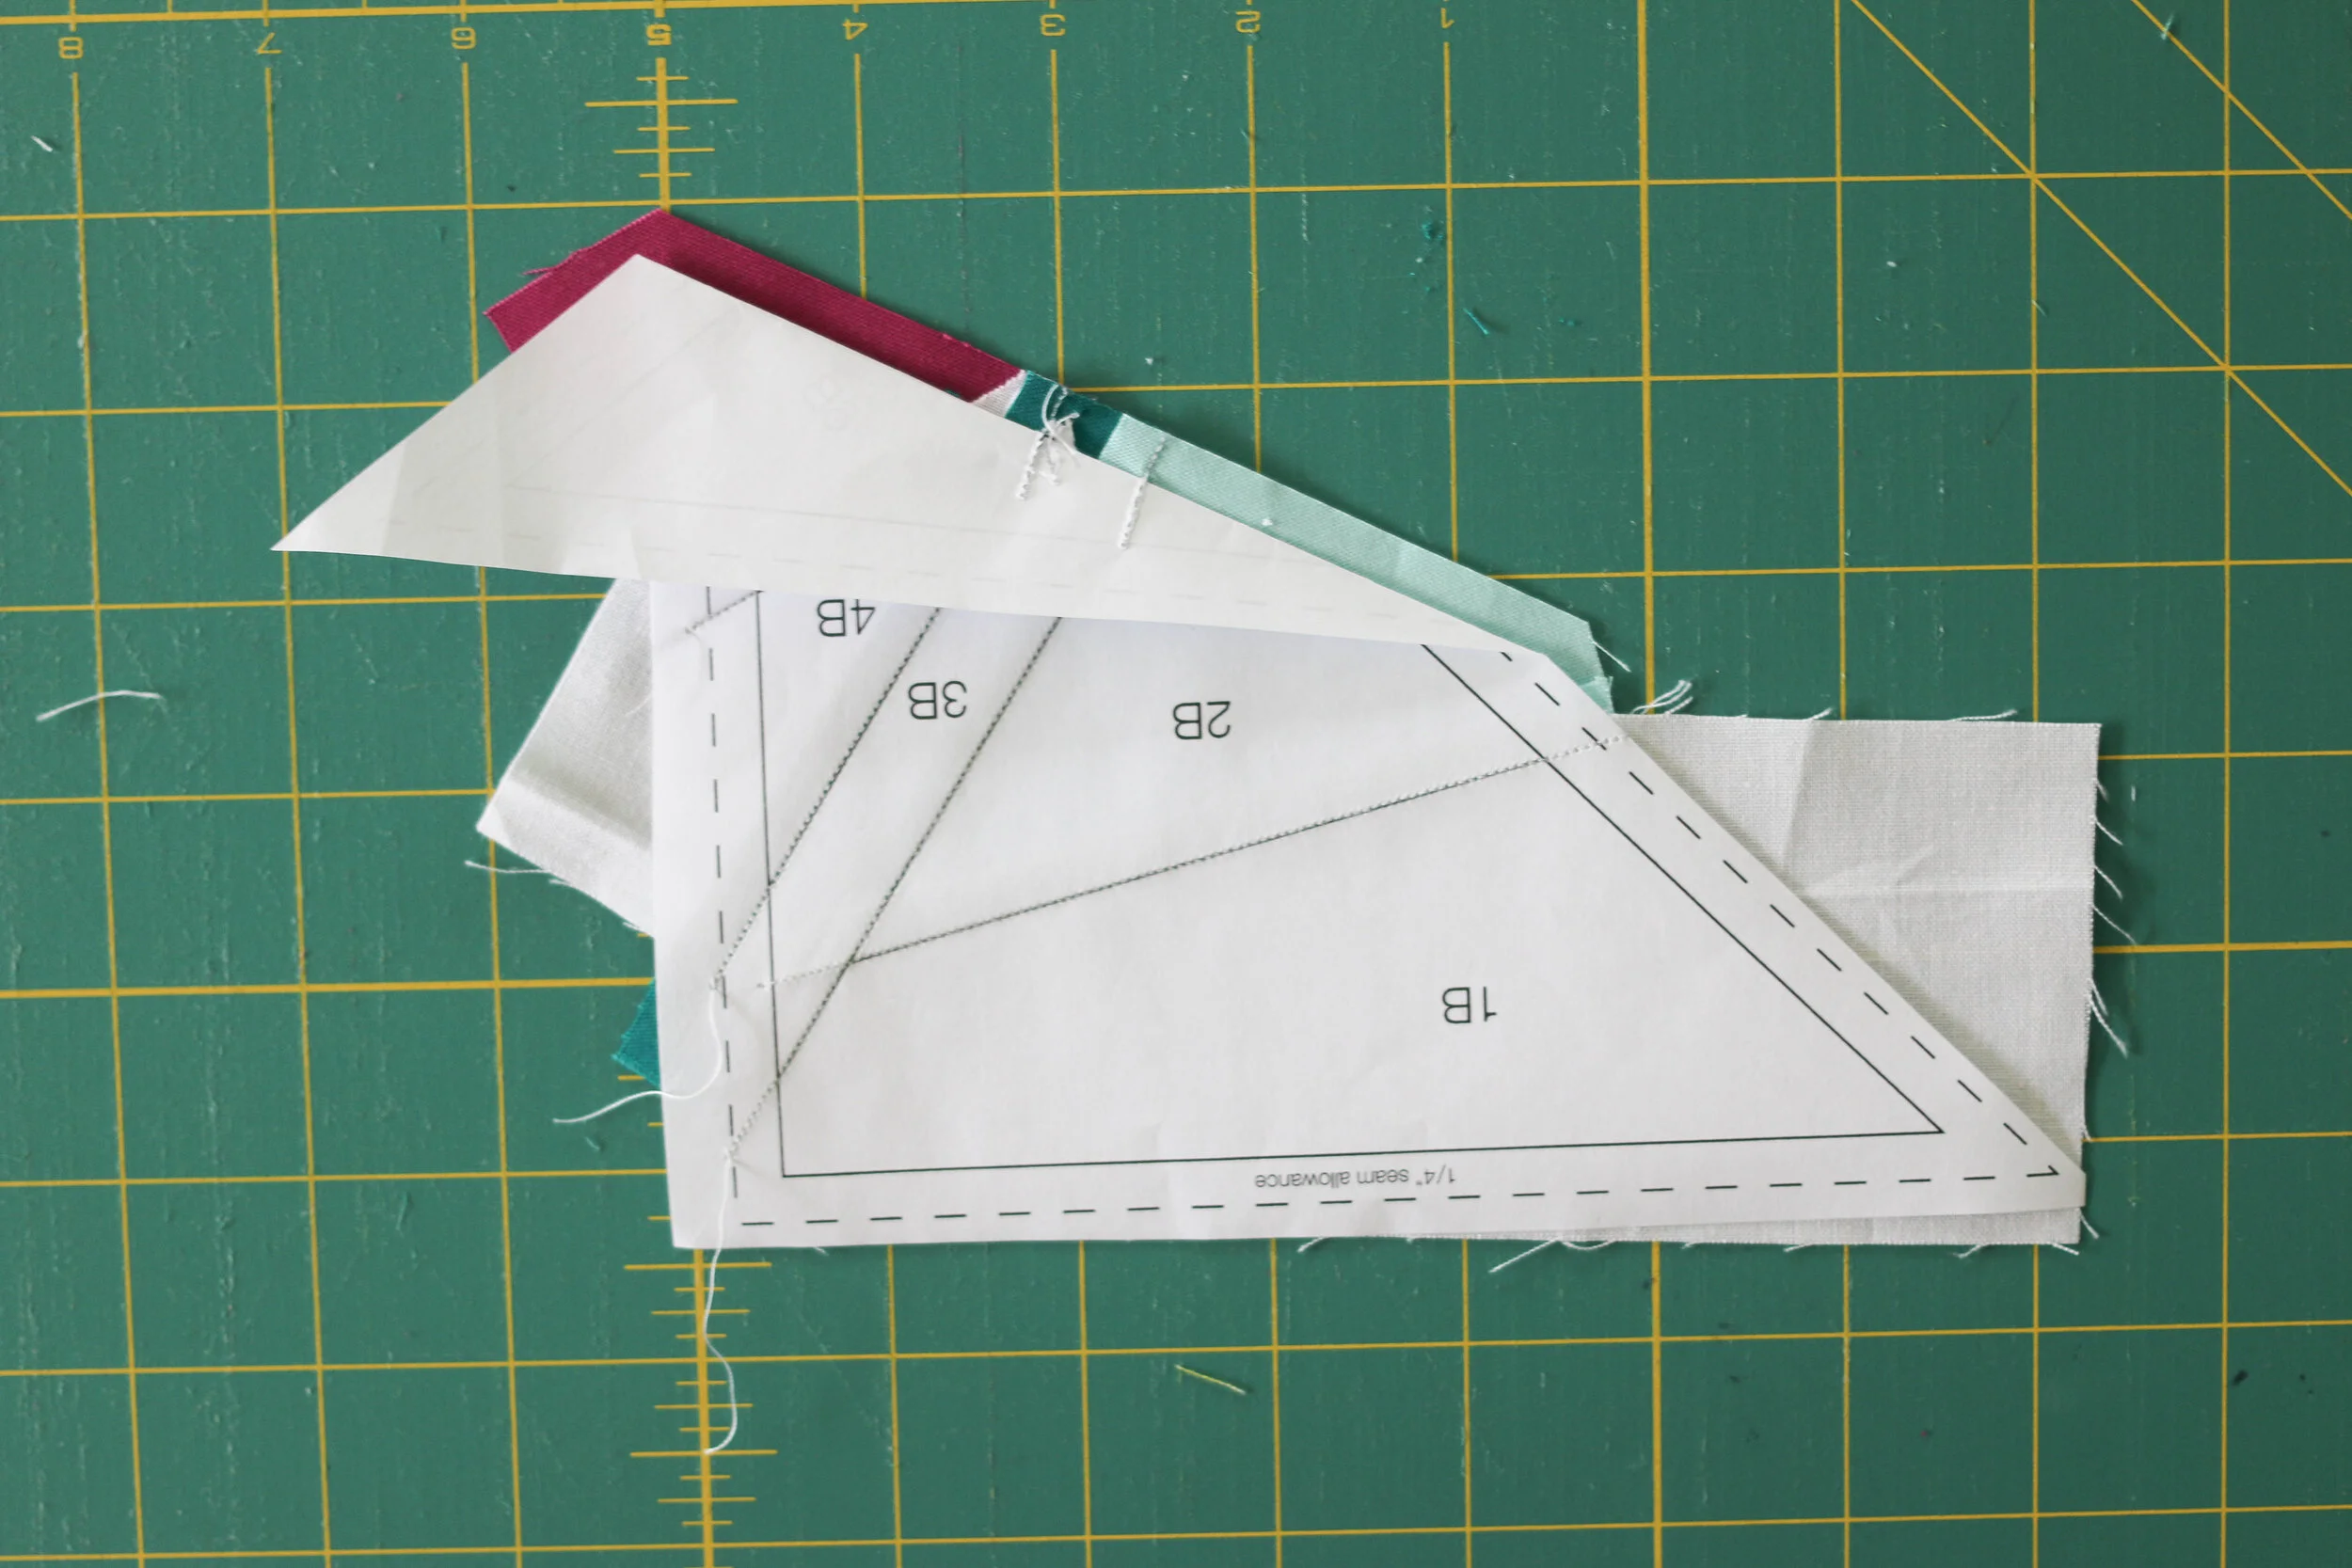
Here's what it should look like after you've trimmed the excess fabric.

And now here's what it should look like from the other side (the fabric side). You'll notice that you can see some of the folded paper sticking out beyond the purple piece. That little bit of folded-back paper peeking out is the key to placing the next piece of fabric correctly.

So here it is with fabric 6B placed. Just line up the edge of piece 6B with the edge you trimmed off, but make sure piece 6B also covers that little flap of folded-back paper. As long as you're covering the folded paper that sticks out, you're golden! You'll cover what you need to cover, every single time. No missed points!

Next, flip the whole thing over (sewn unit and new fabric piece 6B), making sure to leave the 6B fabric in the exact same position (you may want to pin it into place before you flip). Then unfold the paper template and flatten it out so you can sew.

Stitch on the line as usual (with shortened stitch length), and press piece 6B into place. Ta da! Piece 6B was in the exact spot it needed to be to cover every bit of space you needed to cover. Easy, right?

This tip works any time you're paper-piecing and it's not obvious where the next piece needs to go—you can visit my post on the Bernina blog for a more thorough explanation of how it works. It will change your life, I tell you! : )
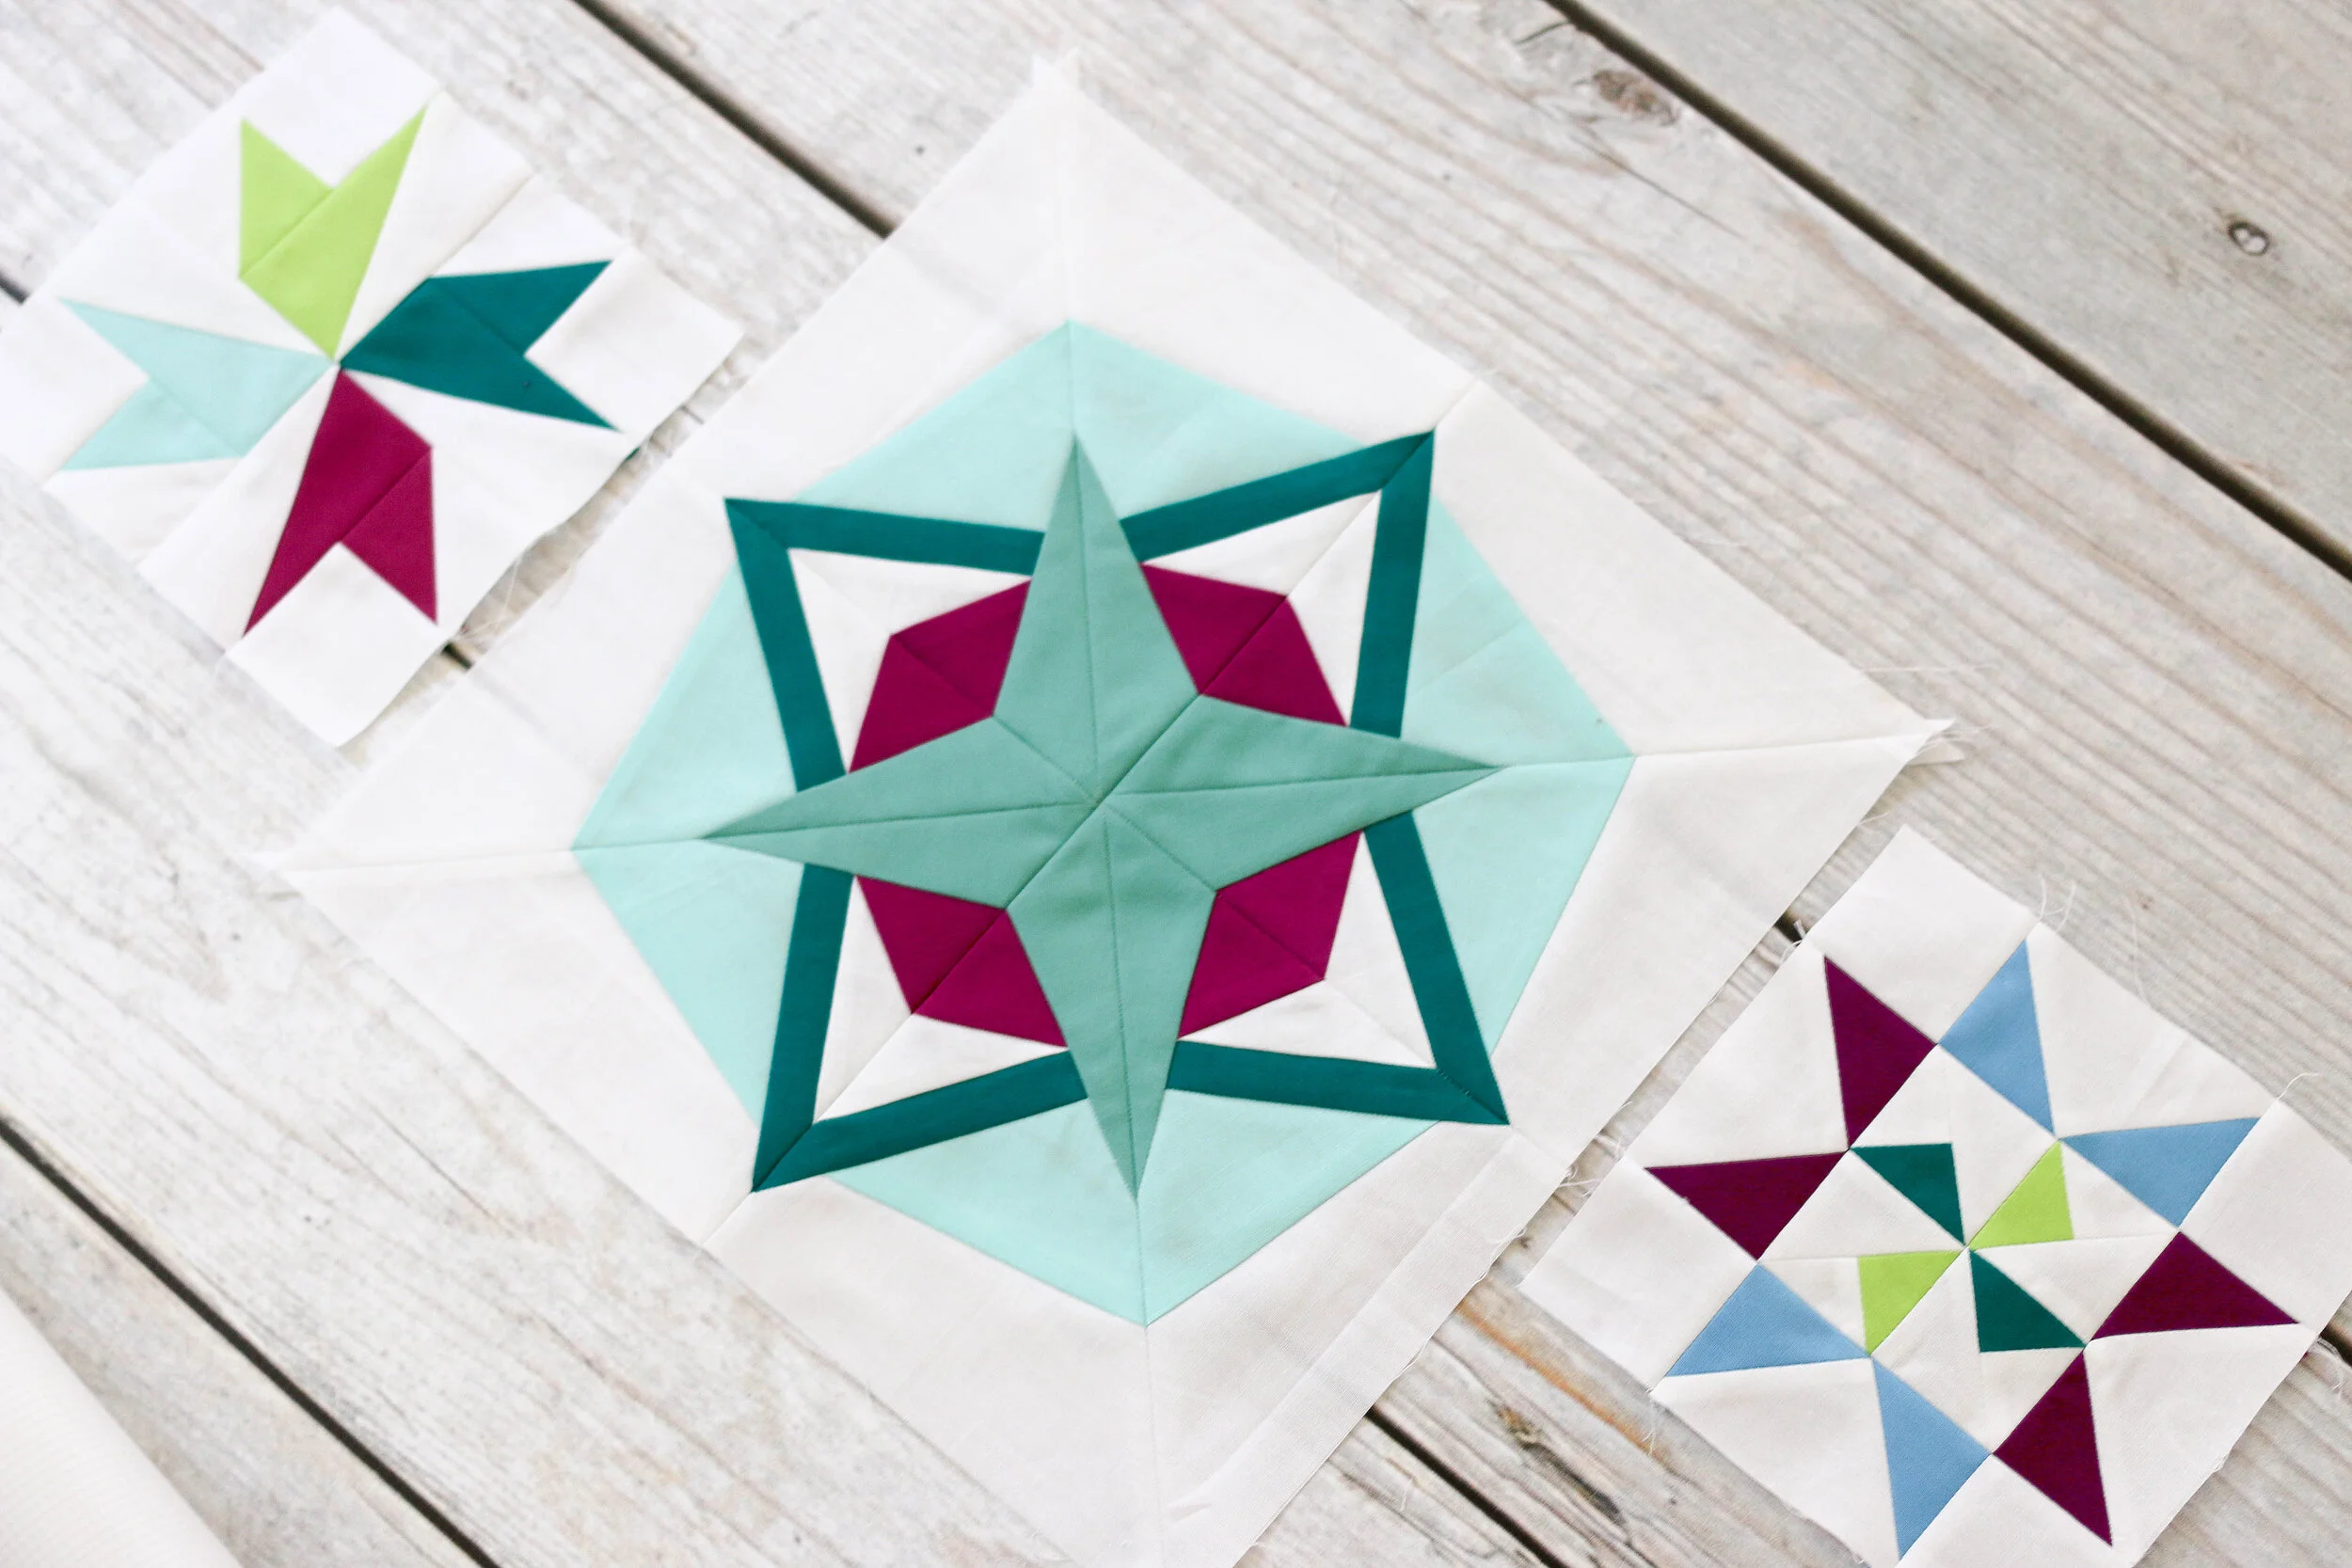
And finally, here are all three of my Summer Sampler 2017 blocks together—two 6-inchers and today's 12-inch. I love seeing them come together like this!

There's still time to join Summer Sampler 2017 and make the blocks with all of us! It's only $29.99 total, for 17 block patterns in two sizes each (6" and 12"), plus instructions to finish it into this gorgeous layout! Click here to purchase. I hope you'll join us! And don't forget to check the #summersampler2017 hashtag to enjoy everybody else's blocks! See you next week.